English

日本語

PSYCHEXP
TUTORIAL

Build a Scenario Experiment in 30 seconds (Between-subjects or Within-subjects Design) Fully Customizable
Build a Scenario Experiment in 30 seconds (Between-subjects or Within-subjects Design) step 1

STEP 1

In this tutorial we will be adding a Scenario Experiment to a Psychexp project.

Let us begin by firstly logging in to psychexp and then select "Add New Project" from the menu.

Enter a project name and click submit. (We will call our project "PROJECT 1")

STEP 2

You will be returned to the dashboard, so then find the project you just created in the project list and click "Open".

Build a Scenario Experiment in 30 seconds (Between-subjects or Within-subjects Design) step 2
Build a Scenario Experiment in 30 seconds (Between-subjects or Within-subjects Design) step 3

STEP 3

You are now on the project home page, so click on the "Edit Project" button from the side menu.

STEP 4

When you first create a project in Psychexp a block with one single choice question is inserted by default.

We are going to add the Scenario Experiment below this default block by simply clicking the "ADD EXPERIMENT" button and selecting "SCENARIO EXPERIMENT" from the list that is displayed.

Build a Scenario Experiment in 30 seconds (Between-subjects or Within-subjects Design) step 4
Build a Scenario Experiment in 30 seconds (Between-subjects or Within-subjects Design) step 5

STEP 5

A fully functional Scenario Experiment has now been inserted.

Let's take a look at the structure of the default experiment, and then see how you can customize it to make it your own.

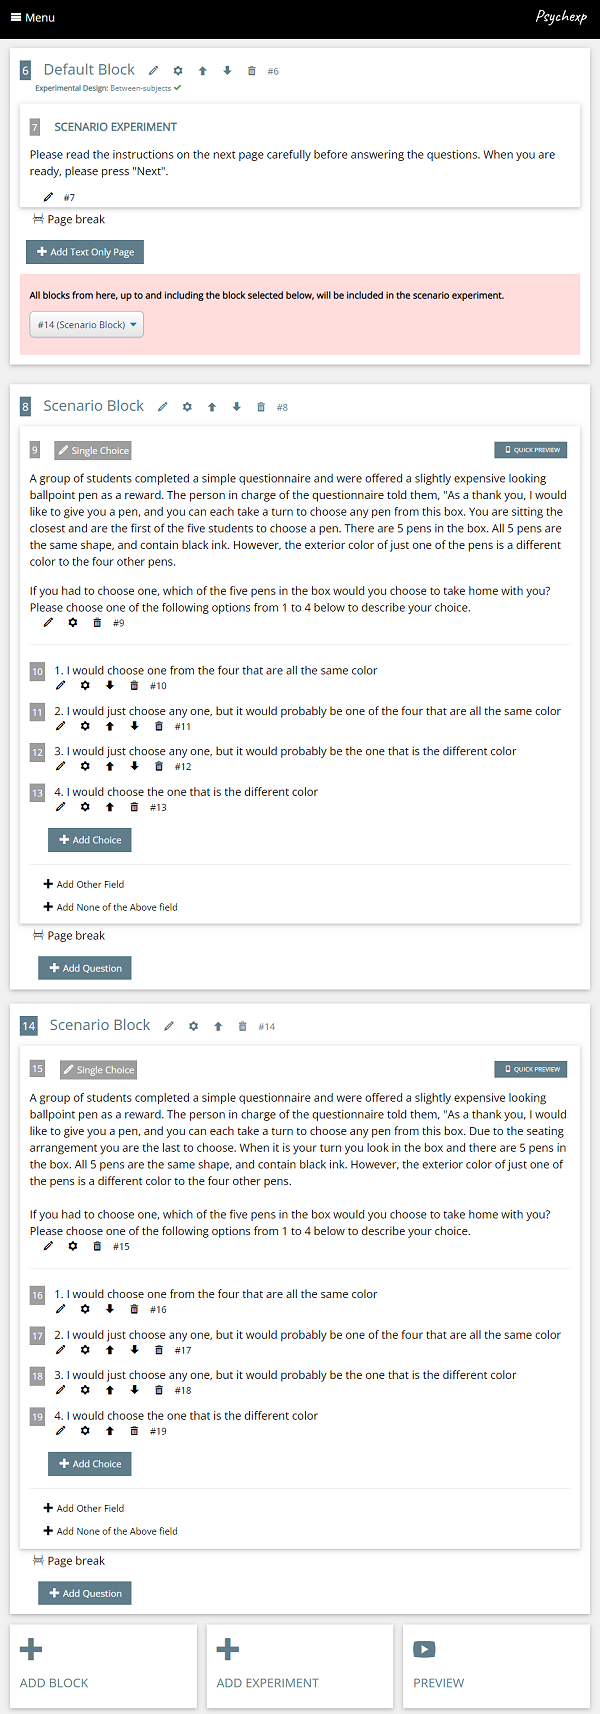
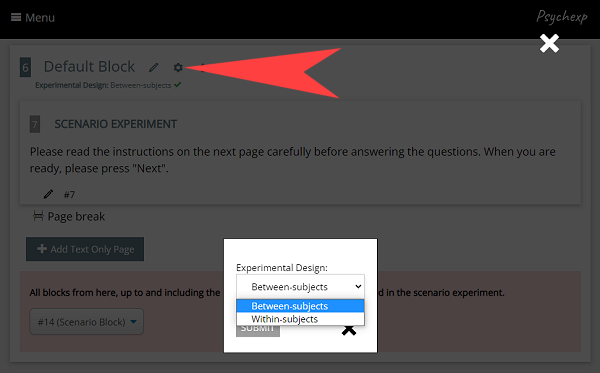
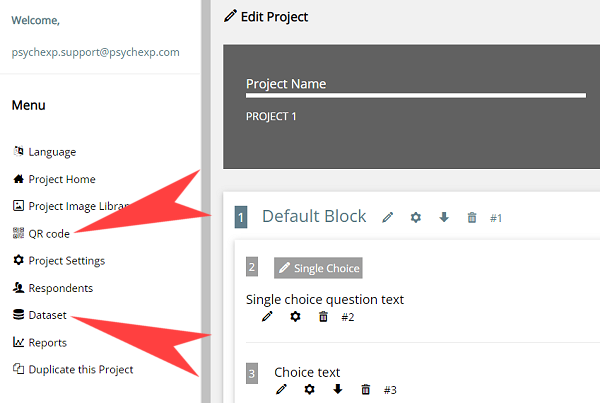
The entire experiment is housed inside of a single block named "Default Block". You can change the name of the block by clicking on the edit (pencil) icon next to the block name.

Next you will see a text only information page that is shown to the participant before the experiment begins. This page is fully customizable by clicking the edit (pencil) icon. You can also add extra pages by clicking the "Add Text Only Page" Button.

Under the text information page you will see a dropdown menu where you can select the blocks that will be included in the scenario experiment.

When the default Scenario Experiment was created, 2 scenario blocks were inserted beneath the experiment settings block. The two scenario blocks in this tutorial are numbered #8 and #14. The dropdown menu is currently set to include all blocks up to and including block #14. This means that both block #8 and block #14 will be included in the Scenario Experiment.

You can add more blocks to the scenario by simply clicking on the add block button. A new block and question will be inserted below block #14, so then change the dropdown value in the scenario settings to the hash number of the new block that was inserted.

You can have as many questions as you like in each scenario block. To add a question to any of the scenario blocks simply click on the "ADD QUESTION" button.

You can change the question type of each of the questions in a scenario block by clicking on the question and selecting the type from the dropdown list. In order to change the default text of the scenario question click on the edit (pencil) icon.

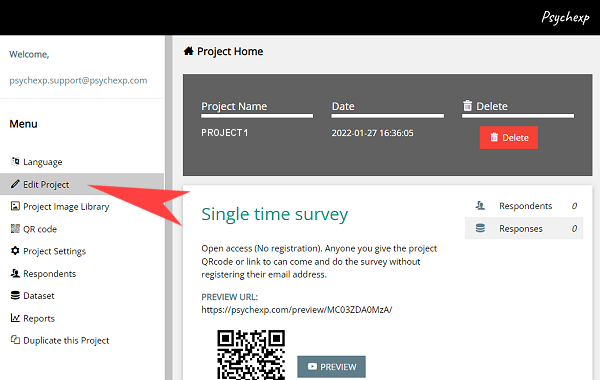
After you have made changes to the default experiment, you can see a live preview of the experiment by clicking the "Preview" button at the bottom of the page. You can preview the project as many times as you want. The preview screens are identical to the screens your participants will see when you distribute your project, however the data from a preview is not saved in the dataset.

STEP 6

If you click on the settings button for the scenario experiment block you can select from the Between-subjects and within-subjects design.

In the Between-subjects design, which is the default setting, just one block will be randomly selected and presented to the participant from the blocks that are included in the Scenario Experiment. The default project has just one question in each block, however if you add more questions to any of the scenario blocks then all of the questions in the block that is randomly selected by the Between-subjects design will be displayed.

If the Within-subjects design is selected then the blocks that are included in the scenario experiment would firstly be shuffled and then each block would be presented to the participant one by one in the shuffled order. If there is more than one question in any of the scenario blocks, then all the questions will be displayed before moving to the next scenario block.

Build a Scenario Experiment in 30 seconds (Between-subjects or Within-subjects Design) step 6
Build a Scenario Experiment in 30 seconds (Between-subjects or Within-subjects Design) step 7

STEP 7

Once you are happy with the design of your experiment you can then adjust the flow of your entire project by editing or deleting the default survey question block that was inserted when you initially made the project. You can also add more survey question blocks or even other experiment blocks under your current experiment by simply clicking on the "ADD BLOCK" or "ADD EXPERIMENT" buttons at the bottom of the page. The combination of experiments and survey questions that you can achieve is only limited by your own imagination!

PRO TIP: Changing the order of the flow of survey question blocks and experiment blocks in your project is as easy as using the up and down arrow buttons that can be found at the top of each survey question or experiment block.

Before distributing your project to your participants be sure to adjust the project settings by clicking on "Project Settings" in the menu.

These are just a few of the many settings you can adjust:

  • Single or multiple time project participation
  • Require email registration
  • Set start and finish dates for participation
  • Record geolocation
  • Registration page logo

STEP 8

When you are ready to distribute your project to your participants, click on "QR code" in the menu to get the URL link or QR code for this project.

PRO TIP: Once a participant has responded to your survey or experiment, you are no longer able to make changes to the project in the "Edit Project" screen. Use the project "PREVIEW" button extensively to check your project prior to distributing it to any participants.

To view the data collected from your participants, click on "Dataset" in the menu.

The dataset will be downloaded in excel format.

Build a Scenario Experiment in 30 seconds (Between-subjects or Within-subjects Design) step 8

INFO

In a scenario experiment you are unable to set redirects on the blocks that are included in the scenario experiment. However, it is possible to bypass this restriction by not using the scenario experiment function, and instead create a similar random conditioning (between-subject) flow, using the "Redirect Immediately" function in the block settings.

A project that shows this exact functionality is available to import by using the import code: NTE4LTU1MThlYw2141

For a more detailed explanation and a preview of the default experiment, check out the video tutorial.

Psychexp Video Tutorial: Build a Scenario Experiment in 30 seconds (Between-subjects or Within-subjects Design)
The default procedure for the scenario experiment is based on the following paper. However, some changes have been made to the number of conditions and questions in the experiment: Yamagishi, T., Hashimoto, H., & Schug, J. (2008). Preferences versus strategies as explanations for culture-specific behavior. Psychological Science, 19(6), 579-584.