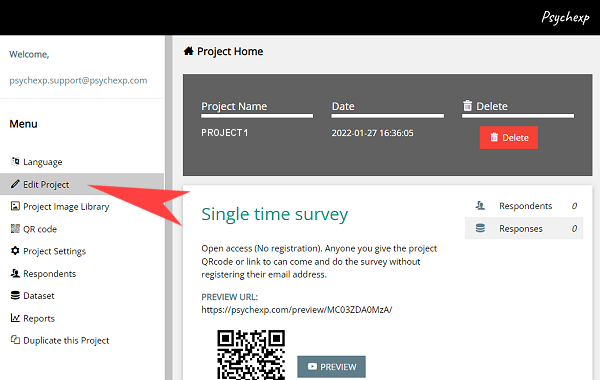
English

日本語

PSYCHEXP
TUTORIAL

Build a Serial Position Effect Experiment in 30 seconds Fully Customizable
Build a Serial Position Effect Experiment in 30 seconds step 1

STEP 1

In this tutorial we will be adding a Serial Position Effect experiment to a Psychexp project.

Let us begin by firstly logging in to psychexp and then select "Add New Project" from the menu.

Enter a project name and click submit. (We will call our project "PROJECT 1")

STEP 2

You will be returned to the dashboard, so then find the project you just created in the project list and click "Open".

Build a Serial Position Effect Experiment in 30 seconds step 2
Build a Serial Position Effect Experiment in 30 seconds step 3

STEP 3

You are now on the project home page, so click on the "Edit Project" button from the side menu.

STEP 4

When you first create a project in Psychexp a block with one single choice question is inserted by default.

We are going to add the Serial Position Effect experiment below this default block by simply clicking the "ADD EXPERIMENT" button and selecting "SERIAL POSITION EFFECT" from the list that is displayed.

Build a Serial Position Effect Experiment in 30 seconds step 4
Build a Serial Position Effect Experiment in 30 seconds step 5

STEP 5

A fully functional Serial Position Effect experiment has now been inserted.

Let's take a look at the structure of the default experiment, and then see how you can customize it to make it your own.

The entire experiment is housed inside of a single block named "Default Block". You can change the name of the block by clicking on the edit (pencil) icon next to the block name.

Next you will see a text only information page that is shown to the participant before the experiment begins. This page is fully customizable by clicking the edit (pencil) icon. You can also add extra pages by clicking the "Add Text Only Page" Button.

Following the information page there are 20 stimulus in the default Serial Position Effect experiment, and you can either change these stimulus by clicking the edit (pencil) icon or you can add more stimulus by clicking the "Add Stimulus" button.

STEP 6

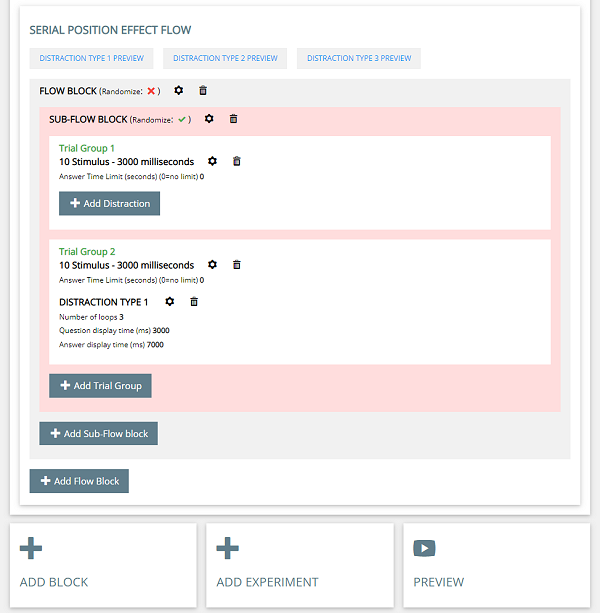
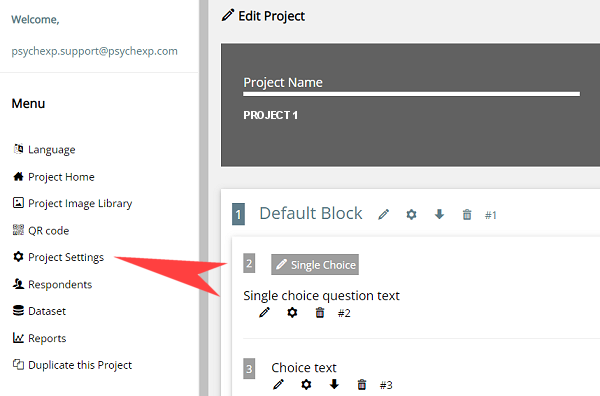
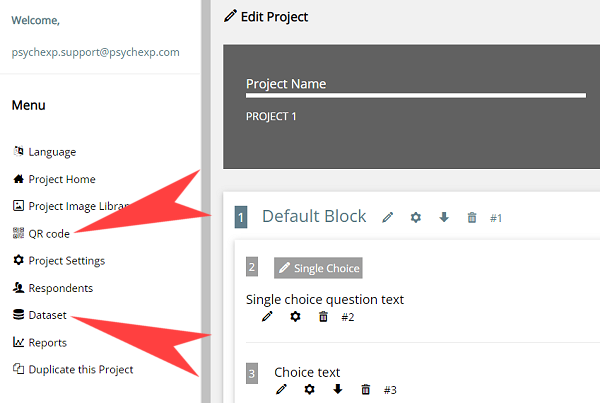
Now we will look at the flow of the Serial Position Effect experiment The flow comprises of Flow blocks, sub-flow blocks and trial groups. The block and sub-flow blocks are used to categorize the randomization of the trial groups. By clicking on the flow block or sub flow block settings (cog) icon you can turn on or turn of the randomization for that item.

You can add as many blocks or sub-flow blocks as you wish to create your desired experiment.

You can also add as many trial groups as you would like to each sub-flow block.

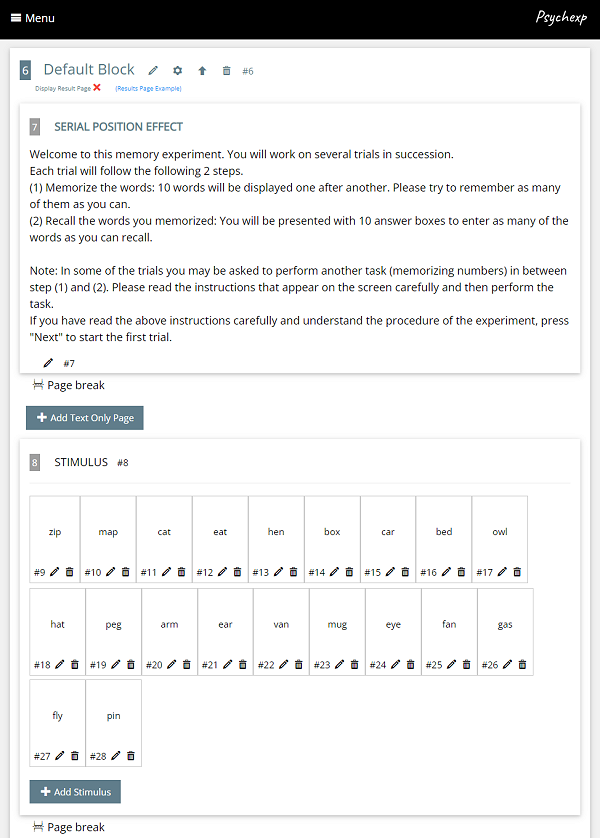
Each trial group determines the combination of stimulus to be shown.

For each trial group you can also choose whether or not to add a distraction task that the respondent will be asked to complete in between the memorize stimulus step and the recall stimulus step.

Trial group 1 comprises of 10 stimulus being shown one by one for a period of 3000 milliseconds each. You can customize these settings by clicking on the settings (cog) icon for each trial group.

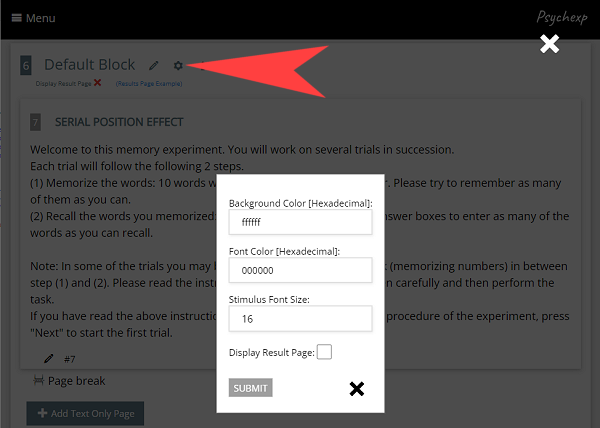
In these settings you can also customize the interstimulus interval and also you can set whether the respondents will have a time limit to recall the stimulus and write their answers. Setting the time limit to zero means that the respondent will have unlimited time to recall the stimulus shown and record their answers. If a time limit is set a countdown bar is shown across the top of the screen and when the time is up the screen automatically changes to the next trial.

In trial group 1 there is currently no distraction task set so the respondent immediately sees the answer screen after all the stimulus have been displayed. In order to set a distraction task simply click on the “Add distraction” button and select the distraction from the list.

There are 4 types of distraction task and you can preview each one by clicking the “Distraction Preview” Buttons.

  1. In Distraction Type 1, the respondent is shown a number which they are then asked to type into a text field within a certain space of time. The number they are shown increases by one digit every time.
  2. In Distraction Type 2 the respondent is shown a 6 digit number, and then they are asked to randomly add or subtract an amount from the number.
  3. Distraction Task 3 is the same as Distraction Type 1 except the number of digits shown does not increase each time. Instead, you can decide the static number of digits shown each time.
  4. In Distraction Type 4, the respondent is asked to subtract an amount from a number repeatedly. When they successfully enter the subtracted amount a new input field is displayed.

After you have made changes to the default experiment, you can see a live preview of the experiment by clicking the "Preview" button at the bottom of the page. You can preview the project as many times as you want. The preview screens are identical to the screens your participants will see when you distribute your project, however the data from a preview is not saved in the dataset.

Build a Serial Position Effect Experiment in 30 seconds step 6
Build a Serial Position Effect Experiment in 30 seconds step 7

STEP 7

By clicking on the experiment block settings (cog) icon, you can make changes to the following settings of the experiment;

  • Text stimulus font size
  • Text stimulus font color
  • Experiment background color
  • Display result page to participant

STEP 8

Once you are happy with the design of your experiment you can then adjust the flow of your entire project by editing or deleting the default survey question block that was inserted when you initially made the project. You can also add more survey question blocks or even other experiment blocks under your current experiment by simply clicking on the "ADD BLOCK" or "ADD EXPERIMENT" buttons at the bottom of the page. The combination of experiments and survey questions that you can achieve is only limited by your own imagination!

PRO TIP: Changing the order of the flow of survey question blocks and experiment blocks in your project is as easy as using the up and down arrow buttons that can be found at the top of each survey question or experiment block.

Before distributing your project to your participants be sure to adjust the project settings by clicking on "Project Settings" in the menu.

These are just a few of the many settings you can adjust:

  • Single or multiple time project participation
  • Require email registration
  • Set start and finish dates for participation
  • Record geolocation
  • Registration page logo
Build a Serial Position Effect Experiment in 30 seconds step 8
Build a Serial Position Effect Experiment in 30 seconds step 9

STEP 9

When you are ready to distribute your project to your participants, click on "QR code" in the menu to get the URL link or QR code for this project.

PRO TIP: Once a participant has responded to your survey or experiment, you are no longer able to make changes to the project in the "Edit Project" screen. Use the project "PREVIEW" button extensively to check your project prior to distributing it to any participants.

To view the data collected from your participants, click on "Dataset" in the menu.

The dataset will be downloaded in excel format.

For a more detailed explanation and a preview of the default experiment, check out the video tutorial.

Psychexp Video Tutorial: Build a Serial Position Effect Experiment in 30 seconds
The default procedure for the Serial Position Effect experiment refers to the following papers. However, partial changes have been made to the experimental procedures and stimulus words: Murdock, B. B., Jr. (1962). The serial position effect of free recall. Journal of Experimental Psychology, 64(5), 482–488. / Postman, L., & Phillips, L. W. (1965). Short-term temporal changes in free recall, Quarterly Journal of Experimental Psychology, 17(2), 132-138.